How to Use a Coffee Percolator? Step-by-Step Instructions
Coffee Queries is reader-supported. When you buy through links on our website, we may earn an affiliate commission. Learn More
Coffee is super important to many of us, and everyone has their favorite way of making coffee. There’s the regular drip machine, the cool pour-over method, quick espresso machines, and the French press that takes quite some time to brew. But the old-school style to make coffee is with a percolator. Even though it’s aged, it is gaining back a good fan following among coffee enthusiasts.
So, if you want to know how to use a percolator and how to make it give you the best coffee, continue reading.
What Is A Coffee Percolator?
A percolator is like a unique coffee pot. It looks like a kettle, usually used on a stove, but is divided into 2 sections: one for water and one for coffee. Most people like to use it when camping because it works well over a campfire. However, there are also electric ones that make coffee even without a stove.
One cool thing is that percolators brew coffee at a high temperature, making your coffee taste richer and stay hot for an extended period.
How Does A Percolator Work?
A percolator is ingeniously designed with 2 distinctive chambers. The lower chamber is intended for water, while the upper section is dedicated to ground coffee beans. As the water begins to heat and boil, it ascends through a vertical tube penetrating the coffee grounds.
As a result, the water cascades back to the bottom of the percolator. This fascinating process is repeated multiple times, signifying the percolator coffee is brewed repeatedly.
As the coffee-infused water trickles down, it navigates through the grounds again, ingeniously crafting a coffee with a strong flavor profile.
How To Use A Coffee Percolator?
Let’s dive into the art of brewing coffee with a percolator. Here’s a step-by-step guide:
Step 1: Prep Your Percolator
Start by putting a coffee filter (optional) in the upper chamber of your percolator. Fill it with the right amount of coffee beans and water, depending on how many cups you plan to make.
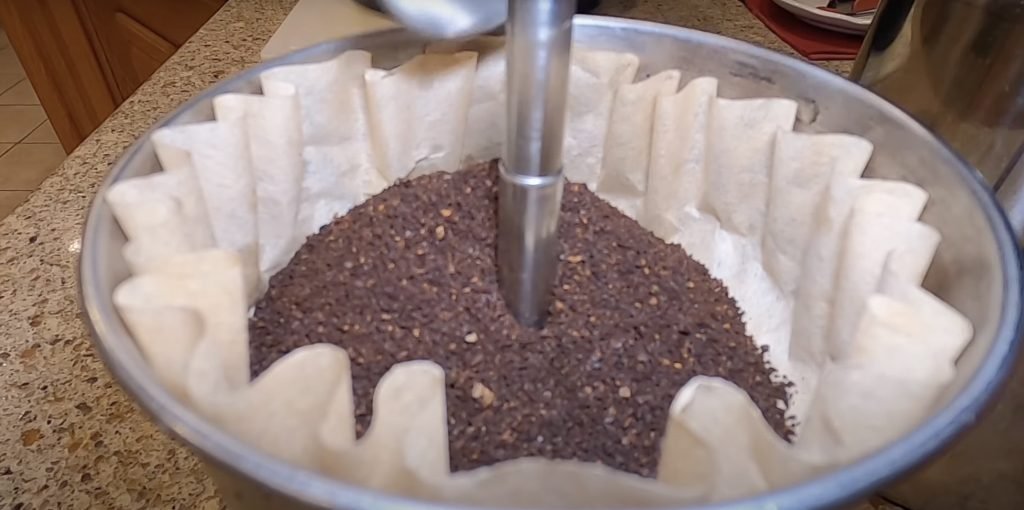
Close the lid and let the percolation magic begin! The tiny perforations in the chamber allow the brew to drip out, immersing your kitchen in the aroma of freshly brewed coffee.
Step 2: Heat It Up
Place your percolator on a medium heat source. Whether it’s a stove or a power source, the heat will create pressure in the sealed bottom chamber of the percolator, accessed through a hollow tube. This is where the brewing action begins!
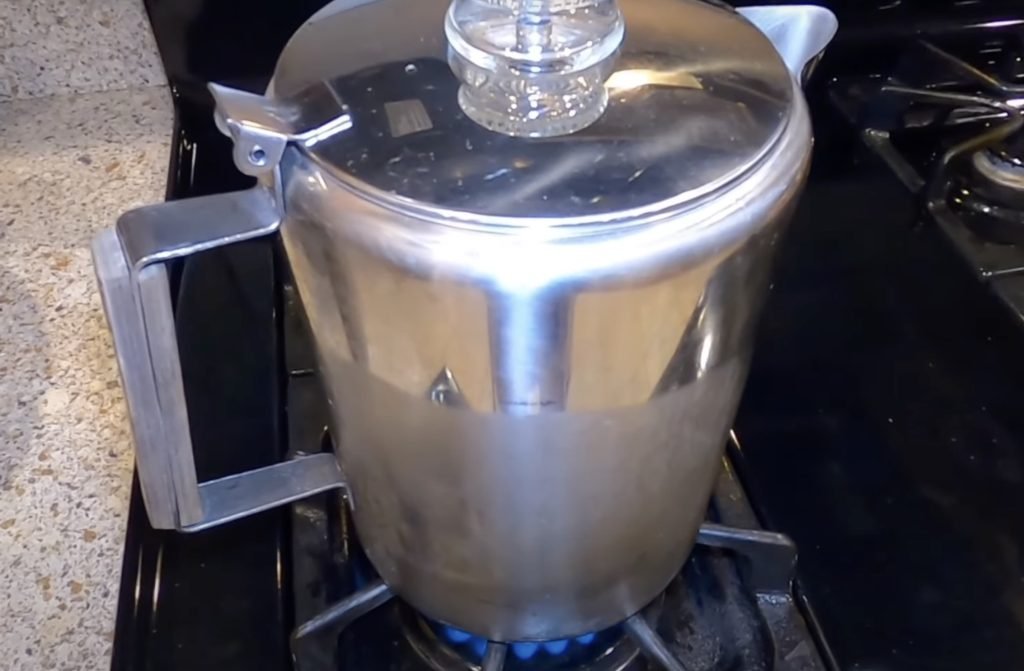
Step 3: Keep an Eye on Your Brew
Watch the brewing process through the transparent knob on the lid. If the water is heating correctly, you’ll see bubbles forming every few seconds.
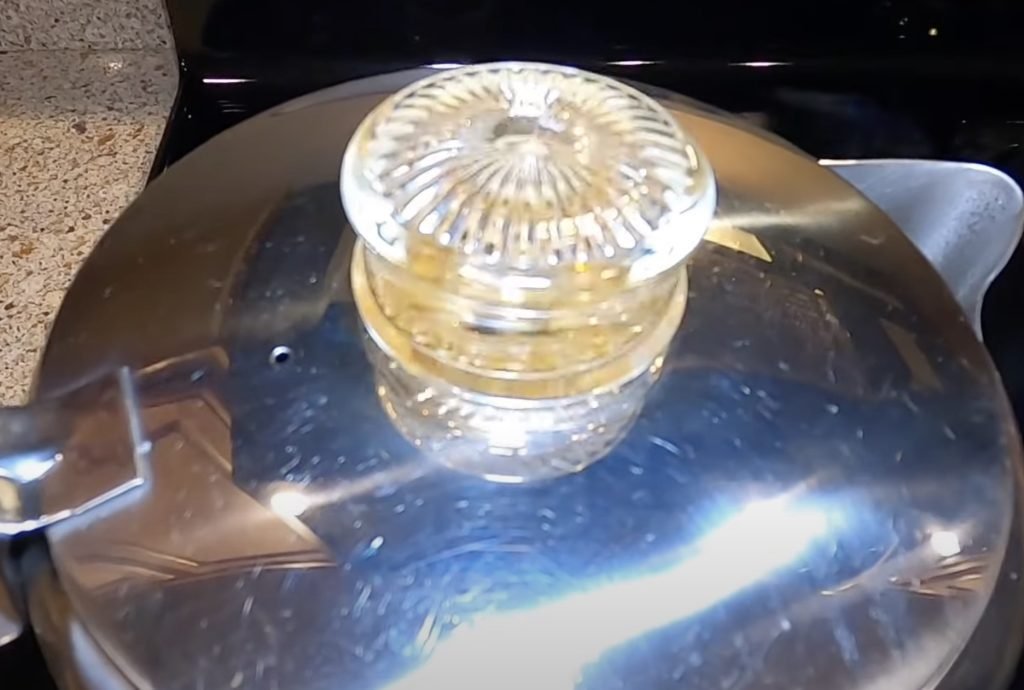
Set a timer for 10 minutes maximum to ensure your coffee starts to “perk”. As the water circulates over the coffee grounds in the chamber, it will extract the rich flavors and aromas from the beans. The process continues until the water reaches a boil.
Step 4: Cool Down
When your percolator starts to whistle, it signals to turn off the heat. The brewing process is complete, and it’s time to remove the percolator from the heat source.
Step 5: Serve
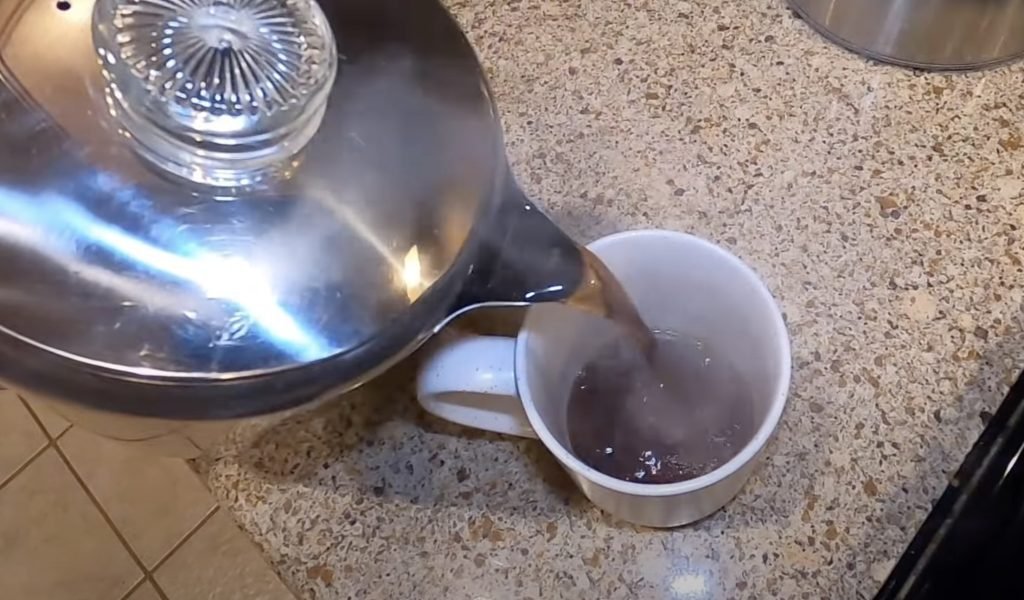
Pour it into your coffee mug and enjoy an amazing cup!
How Long Does It Take To Brew Coffee In A Percolator?
The key to brewing that perfect cup of Joe lies in the percolation time. Ideally, aim for a brewing period of 8-10 minutes. You might have a burnt, bitter brew if you overstep this timeframe.
Conversely, if you’re too quick to remove the pot, the resulting coffee could be weak, lacking the rich taste and aroma that a well-timed percolation can deliver.
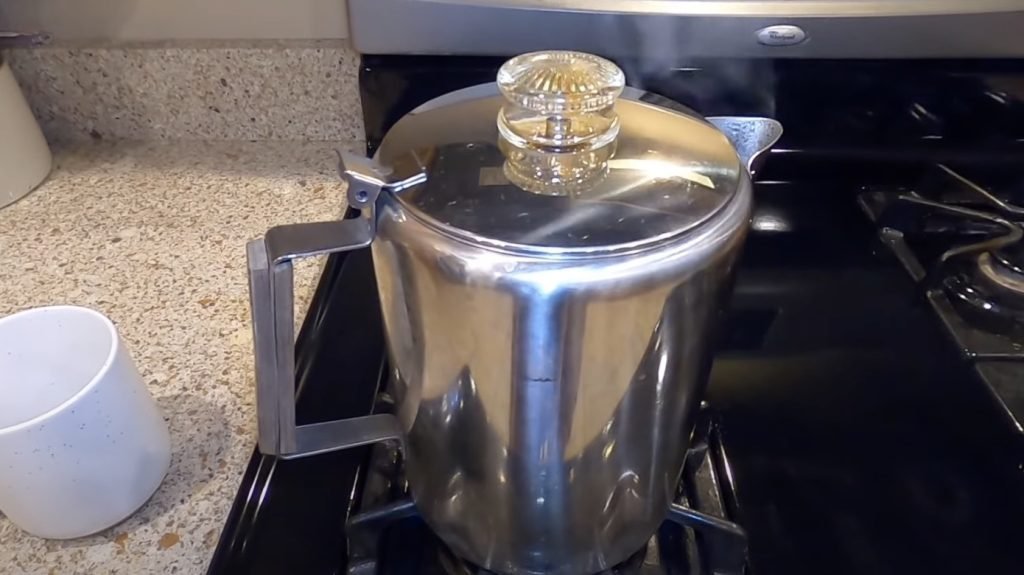
Of course, the perfect brew is subjective. You can tweak the brewing time if you prefer a robust, intense flavor. For instance, a stovetop percolator could achieve a strong brew in at least 5 minutes. For non-circulating percolators like the Moka Pot, switch it off when the top compartment is brimming.
Using a stovetop percolator does require a smidge of attention, though. Keeping an eye on the brewing process is crucial to prevent it from boiling.
On the other hand, if you are after convenience, electric coffee percolators are your best bet. These handy devices switch off automatically once the coffee is brewed to perfection. There is no need for constant monitoring or timing – plug in and let it brew!
Different Kinds Of Percolators
Typically, there are 3 most common types of coffee percolators:
The Classic Stovetop Percolator
Stovetop percolators are the old-school champions of coffee brewing. They rely on an external heat source to work. Ideal for camping trips, office breaks, or on-the-go coffee cravings, these percolators are versatile.
However, they do demand a touch more attention. They can overheat or over-extract the coffee if not carefully monitored, which could lead to a slightly bitter taste.
The Convenient Electric Percolator
Electric percolators may have a slightly higher price tag than their stovetop counterparts, requiring a power source. But they bring convenience and consistency to the table.
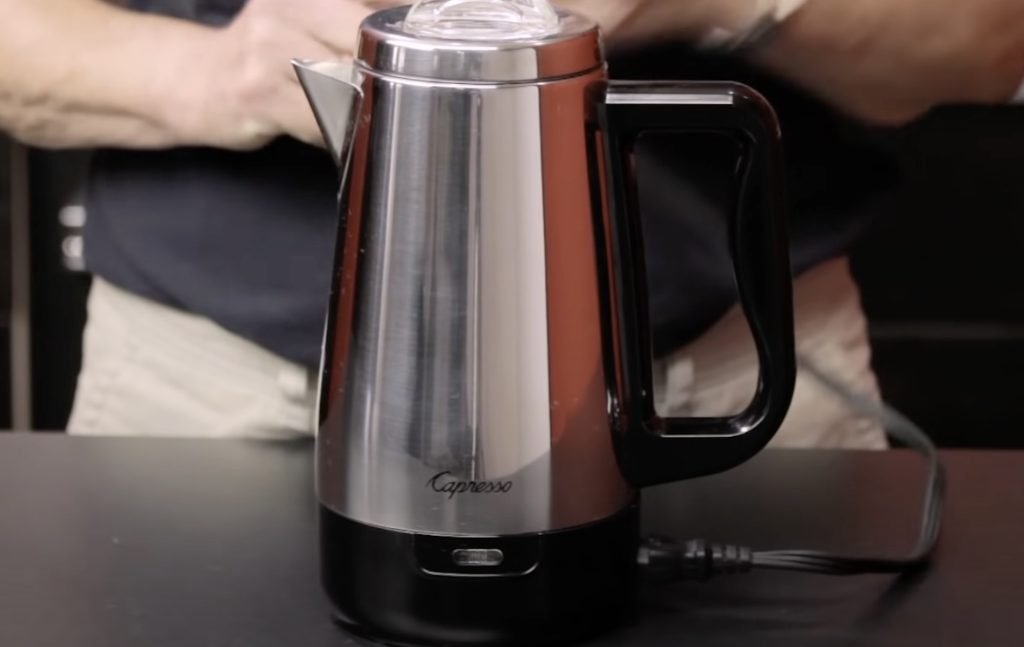
They maintain the water temperature more effectively, preventing over-extraction. They ensure the coffee doesn’t stew too long, saving you from a bitter brew. Essentially, they make it easier to enjoy that perfect cup every time.
The Modern Pressure Percolator
If the previous percolators didn’t match what you had in mind, you might be thinking of a pressure percolator like a Moka Pot. Instead of relying on the heat ascending upwards like traditional percolators, these types use pressure from all sides. Additionally, the coffee in these models stays in a different section, ensuring it’s brewed just once. Suggested Reading: Using a French Press to Make Coffee
Tips And Tricks To Make The Most Out Of Your Coffee Percolator
The steps above show you the basics of making percolated coffee. But if you’re aiming for an even better cup, here are some advanced tips to improve your coffee-making skills.
1: Best Coffee To Use In A Percolator
If this is your first time in coffee percolation, we recommend starting with a coarsely ground coffee in a medium roast!
Typically, dark roast coffee beans are characterized by their oily texture and robust flavors, often hinting at the taste of chocolate and nuts. While they are less acidic compared to light roast beans, they possess a tendency to turn bitter if they are over-extracted.
On the other hand, light roast coffee boasts higher acidity, resulting in a richly complex and bright flavor profile, albeit with a milder coffee taste. It brings forth delightful fruity and floral notes without bitterness but doesn’t quite match the intensity of a dark roast brew. 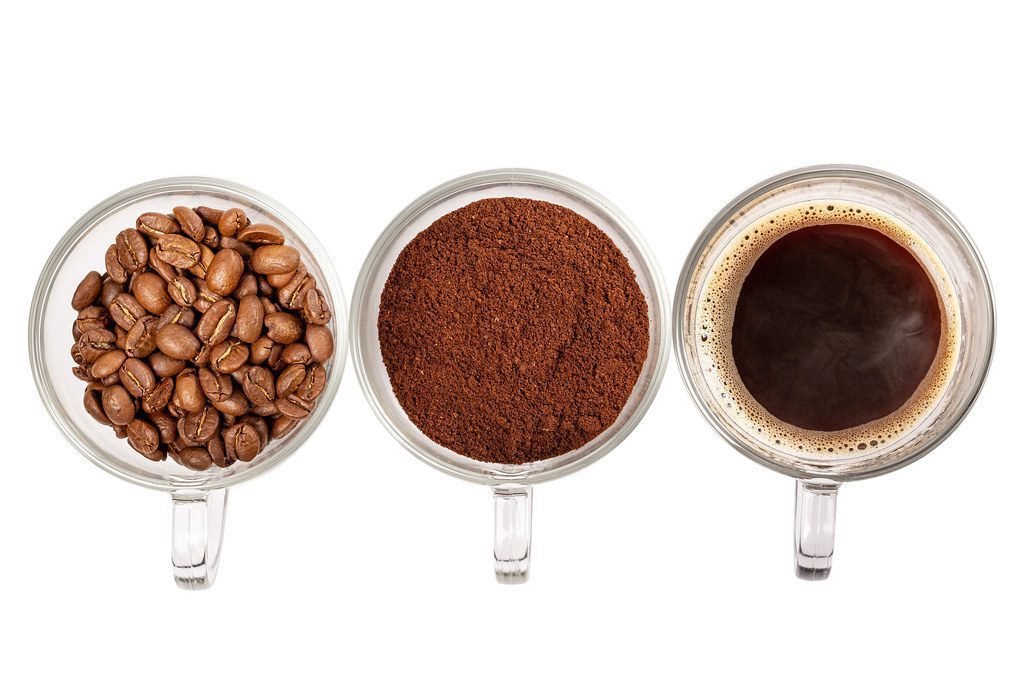
2: How Much Coffee To Use In The Percolation
When making percolated coffee, getting the right amount of coffee and water you use is essential. Use a tablespoon (or 5g) of coffee for every cup of water. (2 spoons of coffee for every 8 ounces of water).
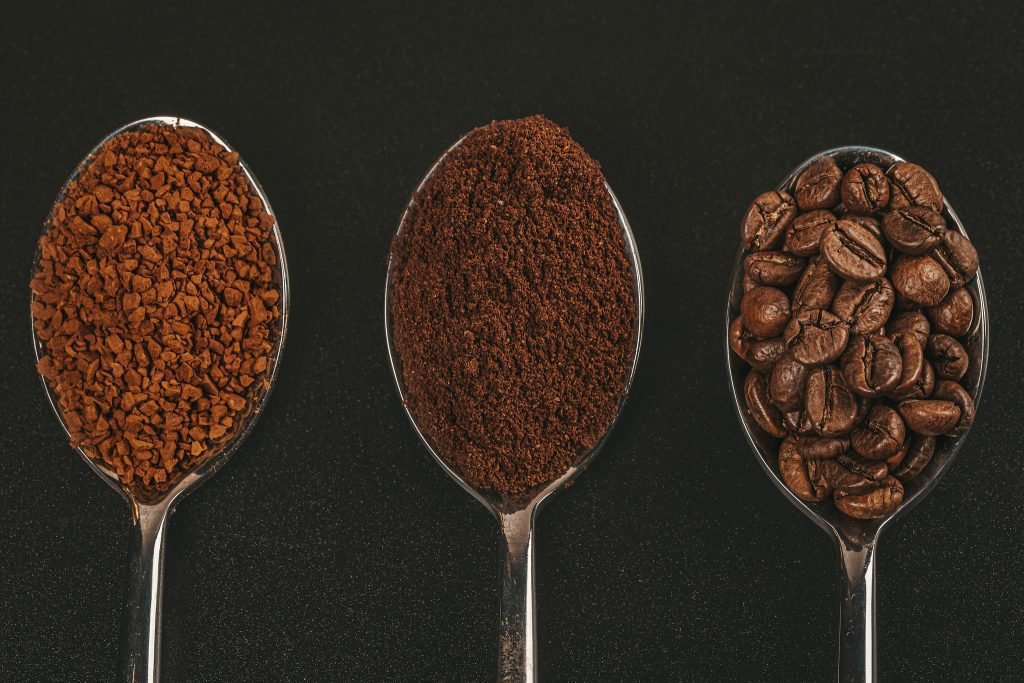
A general rule of thumb is a 1:2 ratio – 1 part coarse coffee to 2 parts water. Do not fill it past the spout, depending on your coffee maker’s size. Adjust the amount of coffee you add if your coffee tastes too strong or weak.
3: The Best Coffee Grind To Use In The Percolator
Percolators use metal filters instead of paper ones in regular drip coffee makers. These filters have bigger holes, so if you use finely ground coffee, it might slip through and end up in your cup. Also, fine ground can make your coffee taste bitter.
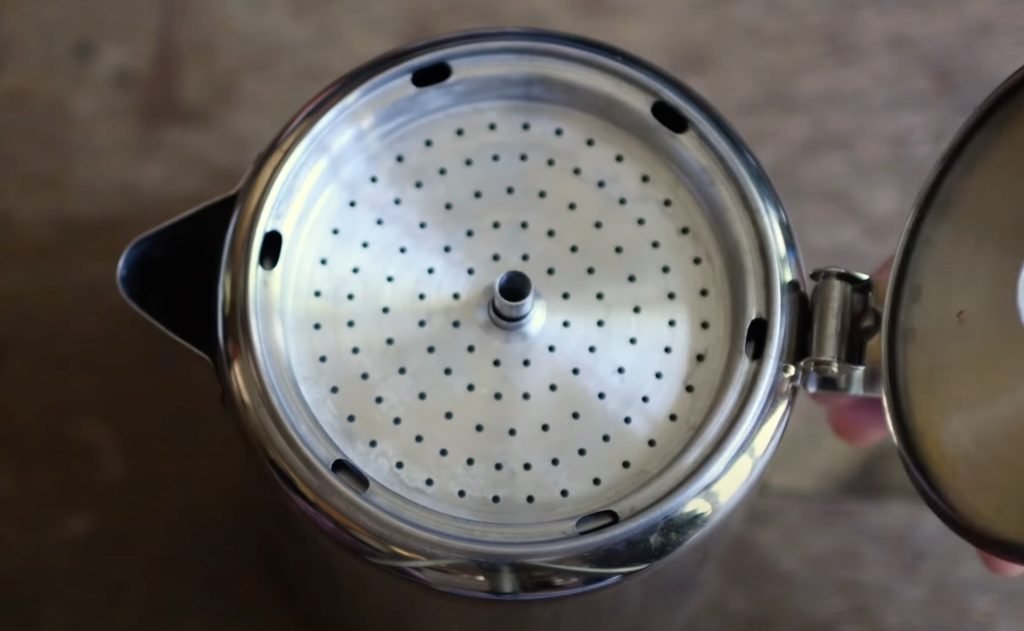
That’s why using coarsely ground coffee is a good idea. The bigger coffee chunks stay inside the filter, so they don’t mix with your drink. The coffee is less likely to turn bitter with less surface for the hot water to touch. So, choosing a coarse grind can make your percolator coffee taste better.
However, you can use a paper filter in the percolator’s top basket if you prefer smooth coffee without grit. But brewing without the filter is fine if you like your coffee stronger.
4: The Water Temperature
Water temperature is crucial for the best results with a traditional coffee percolator. Although many suggest starting with cold water, using hot water can be more effective. Starting with hot water shortens the time the coffee grounds are exposed to heat before brewing begins.
When brewing coffee in a percolator, the temperature needs to be between 92°C and 96°C (Between 198°F and 205°F), respectively.
By quickly reaching the ideal brewing temperature, the extraction process is more efficient, making the most of the coffee grounds without overheating them.
5: Clean Your Percolator Immediately After Brewing
After making coffee, clean your percolator immediately. Remove the coffee grounds and wash the pot right away. If old coffee remains inside for too long, it can leave marks and an unwanted residue. 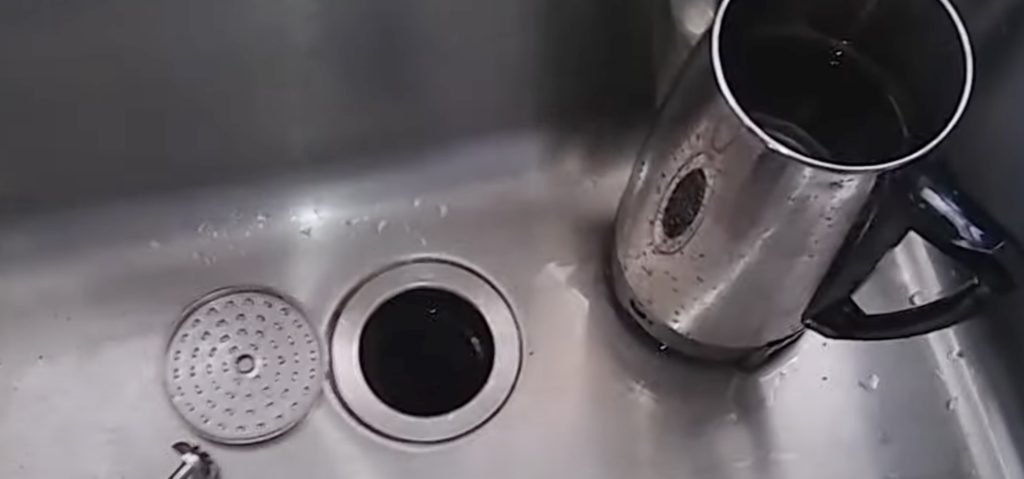
You can head to our guide on cleaning a coffee maker for a detailed guide.
The Bottom Line
Step away from the familiar hum of your drip coffee maker and delve into the rich history of coffee brewing with a percolator. This will provide a delightful break from the norm and an opportunity to educate your friends about the historical method of coffee brewing, savoring the process as you slow things down a notch. Mastering the art of percolating coffee will require practice, so don’t shy away from experimenting.
Remember, the key is to avoid letting the water reach boiling point, which can lead to an overpoweringly bitter taste and an unpleasant lingering mouthfeel. Best of luck on your coffee-brewing adventure! Read Next: Best Gifts for Coffee Lovers
A coffee percolator is a unique coffee brewing device with two chambers—one for water and one for coffee grounds. It brews coffee by recirculating hot water through the grounds, resulting in a strong and rich flavor. A percolator works by heating water in the bottom chamber, causing it to rise through a vertical tube and over coffee grounds in the upper chamber. The water then falls back down, repeating the process to brew the coffee. Percolators are not designed for making espresso; they produce a different type of coffee known for its strong and rich flavor. Espresso requires specialized equipment. The choice between a stovetop and electric percolator depends on your preference. Stovetop percolators are portable and require more attention, while electric percolators offer convenience and temperature control.How to Use Coffee Percolator - FAQ
What is a coffee percolator?
How does a percolator work?
Can I use a percolator for making espresso?
Is a stovetop or electric percolator better?

